In today’s fast-paced business world, mastering QuickBooks Online VAT and sales tax adjustments is crucial for maintaining accurate financial records. We understand the challenges that come with managing taxes in QuickBooks Online, from submitting VAT returns to handling sales tax on invoices. That’s why we’ve put together this comprehensive guide to help you navigate these complex processes with ease and confidence.
We’ll walk you through the key features of QuickBooks Online’s tax capabilities, including how to add sales tax and use automated sales tax functions. You’ll learn step-by-step how to make sales tax adjustments and master VAT adjustments in QuickBooks. We’ll cover important topics like VAT exception reports, VAT boxes, and how to deal with tax periods, prepayments, and memos. By the end of this article, you’ll have a solid grasp on managing your VAT liability and submitting accurate VAT returns to HMRC, helping you avoid penalties and interest.
QuickBooks Online Tax Features Overview
QuickBooks Online offers a comprehensive set of tax features to help businesses manage their sales tax and VAT obligations efficiently. We’ll explore the key functionalities that make tax management easier for users.
Sales Tax functionality
QuickBooks Online has revolutionized sales tax management with its automated sales tax feature. This system takes the guesswork out of collecting sales tax by automatically calculating the correct tax rates for each sale. It considers factors such as your customer’s tax-exempt status, where you sell and ship, and what you’re selling.
The software keeps track of state tax laws to ensure accurate calculations and returns. It also allows you to assign tax categories to your products and services, enabling QuickBooks to determine the appropriate tax rates based on what you’re selling and where.
One of the most helpful aspects is the ability to view a detailed breakdown of sales tax calculations. When creating an invoice or sales receipt, you can select “See the math” or “Edit tax” to access this information.
VAT functionality
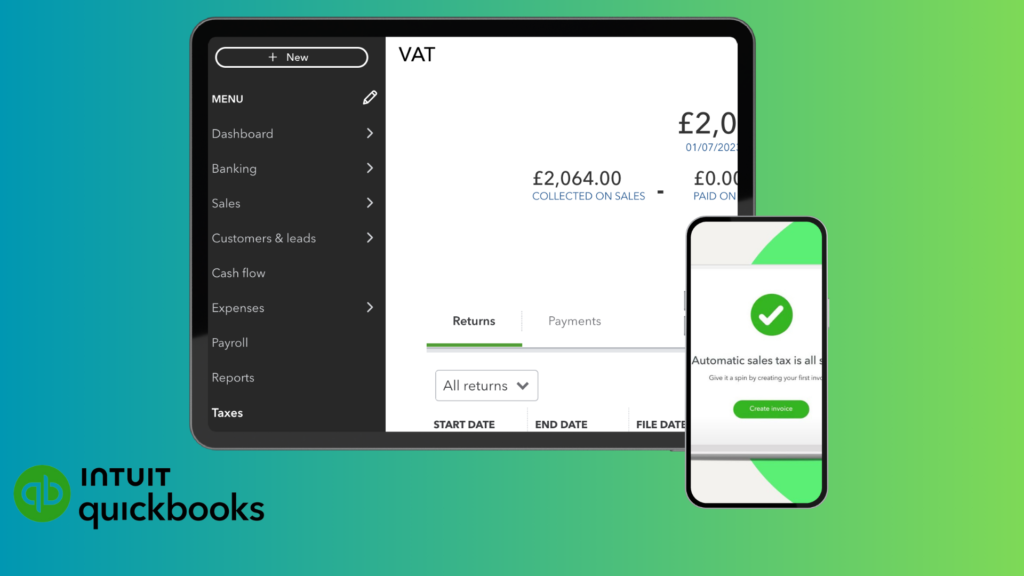
For businesses dealing with VAT, QuickBooks Online offers robust features to streamline the process. The software can automatically calculate VAT on invoices and receipts, making filings more accurate and easier to manage. It also notifies you when tax payments are due, helping you avoid penalties and extra fees.
QuickBooks Online supports various VAT accounting schemes and allows you to set up your VAT registration details easily. You can track VAT from customers, assign VAT categories to products and services, and check how much tax you owe.
The software also facilitates the submission of VAT returns to HMRC through Making Tax Digital (MTD). This feature is crucial for VAT-registered businesses that are required to keep digital records and submit returns through MTD.
Automated vs. manual tax management
QuickBooks Online offers both automated and manual tax management options. The automated system simplifies tax tracking by automatically calculating and updating tax rates based on your sales and location. This is particularly useful if your state changes tax rates, as QuickBooks will automatically update these for you.
Step-by-Step Guide to Sales Tax Adjustments
Managing sales tax adjustments in QuickBooks Online is crucial for maintaining accurate financial records. We’ll walk you through the process of creating, modifying, and deleting sales tax adjustments to ensure your tax filings are precise.
Creating a sales tax adjustment
To start, we need to set up an account for adjusting sales tax. Go to Settings, then Chart of accounts, and select New. Choose Income or Expenses from the Account Type dropdown, depending on whether you need to decrease or increase your sales tax due. Name your adjustment account appropriately.
Next, we’ll add the adjustment. Navigate to Taxes, then Sales tax. Find the tax period you need to adjust and select Prepare return. Click on the Adjust link next to the entry you want to modify. Select the adjustment date and tax rate, then choose the adjustment account you created earlier. Enter the adjustment amount and any notes in the Memo field, then save your changes.
Modifying existing adjustments
If you need to change an existing adjustment, the process is similar to creating a new one. Go to the Taxes section and find the relevant tax period. Select View return and locate the adjustment you want to modify. Click on the adjustment amount to open the details. From here, you can update the date, account, amount, or memo as needed. Remember to save your changes after making modifications.
Deleting incorrect adjustments
Sometimes, you may need to remove an incorrect sales tax adjustment. To do this, go to Settings and select Chart of accounts. Find the income or expense account you used for the adjustment and select Run report. Make sure you’ve chosen the correct report period. Locate the adjustment you want to delete, select it, and click Delete. Confirm your action by selecting Yes.
By mastering these steps, we can ensure our QuickBooks VAT and sales tax records remain accurate and up-to-date. This helps us avoid potential issues with tax authorities and keeps our financial reporting in top shape.
Mastering VAT Adjustments in QuickBooks
We understand that managing VAT in QuickBooks Online can be complex, especially when it comes to making adjustments. Let’s dive into the process of mastering VAT adjustments to ensure accurate reporting and compliance with HMRC regulations.
Setting up VAT adjustment accounts
To start, we need to set up the right accounts for VAT adjustments in QuickBooks Online. If we’re decreasing our VAT due, we’ll create an income account. For increasing VAT due, we’ll set up an expense account. To do this, we go to the Chart of Accounts and select New. For an income account, we choose “Sales of Product Income” as the Detail Type. For an expense account, we select “Taxes Paid.”
Making VAT box adjustments
Now, let’s walk through the process of adjusting VAT boxes. We begin by navigating to the Taxes section and selecting VAT. We find the tax period that needs adjusting and click on “Prepare return.” Next to the entry we want to modify, we select “Adjust.”
We then choose the adjustment date and tax rate. It’s crucial to select the correct VAT code to ensure it appears on reports and tax returns. Next, we pick the adjustment account we created earlier. If we’re making an adjustment due to a tax credit, we use the income account. For fines or penalties, we use the expense account.
In the adjustment amount section, we enter the necessary figure. It’s good practice to include a memo describing the adjustment for easy identification later. After entering all details, we save the adjustment.
Understanding VAT adjustment impact
It’s important to grasp how these adjustments affect our QuickBooks VAT records. When we make an adjustment, QuickBooks creates a journal entry to reflect the change. This adjustment will show up in our next VAT return submitted to HMRC.
Different VAT boxes have varying impacts. For instance, adjusting box 6 creates a credit and debit to our VAT suspense account, affecting the net value of sales. Box 7 adjustments impact the net value of purchases.
We need to be aware that once we’ve submitted a VAT return through Making Tax Digital (MTD), we can’t change or undo it in QuickBooks. Any changes from previous periods must be accounted for in the current period.
Remember, these adjustments can significantly impact our VAT control and suspense accounts. If we’re unsure about making an adjustment, it’s best to consult with an accountant for guidance. They can help us navigate the complexities of VAT adjustments and ensure we’re correctly managing our VAT liability in QuickBooks Online.
Conclusion
Mastering QuickBooks VAT and sales tax adjustments has a significant impact on maintaining accurate financial records and ensuring compliance with tax regulations. This guide has provided a comprehensive overview of QuickBooks Online’s tax features, including automated sales tax calculations and VAT management tools. We’ve walked through the steps to make sales tax adjustments, set up VAT adjustment accounts, and understand their effects on tax returns. These skills are crucial to avoid penalties and keep your business’s financial reporting in top shape.
To wrap up, the key to successful tax management in QuickBooks Online lies in understanding the software’s capabilities and applying them correctly to your specific business needs. By putting these techniques into action, you can streamline your tax processes, reduce errors, and save time. Remember, while QuickBooks offers powerful tools to manage taxes, it’s always wise to consult with a tax professional if you’re unsure about complex adjustments or have specific questions about your tax obligations. Contact us today to adjust your Tax and Vat.