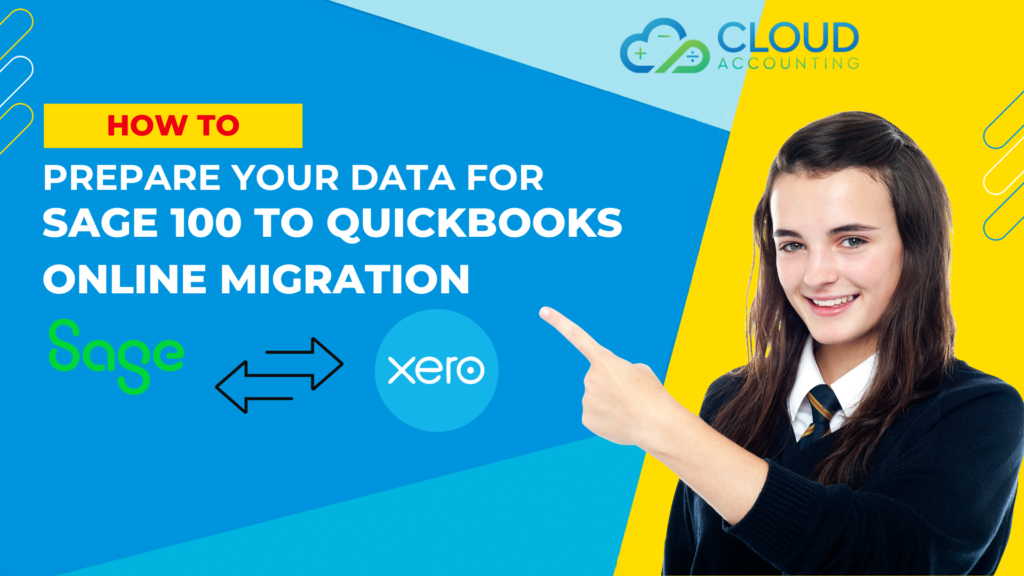
Migrating from Sage 100 to QuickBooks Online is a transformative move for businesses seeking the flexibility and accessibility of cloud-based accounting. However, this transition can be challenging, particularly when transferring years of financial data. Without proper preparation, you might face data loss, inaccuracies, or operational disruptions. Therefore, meticulous data preparation for migration is the key to ensuring a seamless process.
In this detailed guide, we’ll provide a step-by-step roadmap to prepare your data for a smooth Sage 100 to QuickBooks Online migration. We’ll emphasize the critical role of data cleansing for migration, highlight common pitfalls to avoid, and share best practices to streamline your accounting software migration. Let’s dive in.
Understanding the Scope of Migration
Before you begin, it’s essential to grasp the scope of your migration. Typically, businesses need to transfer the following data from Sage 100 to QuickBooks Online:
- Customer information
- Vendor details
- Chart of accounts
- Transaction history (e.g., invoices, payments)
- Inventory data
- Employee records (if applicable)
Each data type may have a unique structure in Sage 100, which might not align perfectly with QuickBooks Online. Moreover, if your company has relied on Sage 100 for years, you could be dealing with a large volume of historical data. Consequently, understanding these complexities allows you to plan effectively and allocate sufficient resources for the migration.
Creating a Pre-Migration Checklist
A well-structured pre-migration checklist is your foundation for success. It ensures that no critical steps are overlooked during the process. Here’s what your checklist should include:
- Identify all data categories to migrate
- Clean and organize your Sage 100 data
- Back up all Sage 100 data securely
- Set up your QuickBooks Online account
- Map data fields between systems
- Test the migration with sample data
- Train your team on QuickBooks Online
By creating this checklist, you’ll streamline your preparation and reduce the risk of errors during the Sage 100 to QuickBooks Online migration.
Data Cleansing: The Foundation of a Smooth Migration
Data cleansing for migration is the cornerstone of a successful transition. Dirty data—such as duplicates, inconsistencies, or errors—can derail your migration and lead to inaccurate financial records in QuickBooks Online. Therefore, take these steps to clean your Sage 100 data:
- Eliminate Duplicates: Remove duplicate customer, vendor, or transaction records to avoid confusion.
- Standardize Formats: Ensure dates, addresses, and other fields follow a consistent format (e.g., MM/DD/YYYY).
- Fix Errors: Correct misspellings, outdated entries, or incorrect figures.
- Verify Transactions: Check that financial data balances correctly.
For smaller datasets, tools like Excel can help, while larger datasets might require dedicated data cleansing software. In addition, clean data reduces the likelihood of import errors, making your QuickBooks Online data import much smoother.
Common Data Issues to Avoid
- Inconsistent Naming: Variations like “ABC Corp” and “ABC Corporation” can create duplicates.
- Outdated Records: Old customer or vendor data can clutter your system.
- Unreconciled Transactions: Unmatched payments or invoices can skew financial reports.
By addressing these issues upfront, you’ll pave the way for a seamless migration.
Exporting Data from Sage 100
Once your data is clean, it’s time for Sage 100 data export. Follow these steps to extract your data:
- Access the export function in Sage 100 (typically under ‘File’ or ‘Utilities’).
- Select the data categories to export (e.g., customers, transactions).
- Choose a compatible file format, such as CSV or Excel.
- Customize export settings to include all necessary fields.
- Save the files securely for the next step.
Ensure that all relevant data is captured during this process. If you’re uncertain about specific settings, refer to Sage 100’s documentation or consult an expert.
Data Mapping and Validation
Data mapping aligns your Sage 100 data fields with those in QuickBooks Online. For instance, the “Customer Name” field in Sage 100 must correspond to the equivalent field in QuickBooks Online. However, differences in field names or formats can complicate this step. Here’s how to handle it:
- Identify matching fields between the two systems.
- Create a mapping template to document these relationships.
- Ensure data types (e.g., text, number, date) are compatible.
Subsequently, validate your mapping by importing a small data sample into QuickBooks Online. This test run helps you spot discrepancies—like missing fields or mismatched formats—before the full migration. Consequently, you’ll avoid larger issues down the line during your cloud accounting migration.
Backing Up Your Data: A Critical Precaution
Before you migrate Sage 100 to QBO, backing up your data is non-negotiable. A backup provides a safety net in case something goes wrong during the migration. Follow these best practices:
- Create a full backup of your Sage 100 database.
- Store copies in multiple locations (e.g., external drive, cloud storage).
- Verify that the backup is complete and accessible.
This step is critical because data loss can disrupt your business operations. Therefore, don’t proceed without a reliable backup in place.
Importing Data into QuickBooks Online
With your data prepared, mapped, and backed up, you’re ready for QuickBooks Online data import. Here’s how to do it:
- Log into QuickBooks Online and go to the import feature (under ‘Settings’ or ‘Tools’).
- Select the data type (e.g., customers, invoices).
- Upload your exported Sage 100 file.
- Map fields as prompted, using your template.
- Review the data and confirm the import.
Be prepared for potential issues, such as file format errors or import limits. If problems arise, QuickBooks Online typically provides error logs to guide your troubleshooting. By resolving these promptly, you’ll ensure a successful import.
Post-Migration Review and Reconciliation
After importing, don’t assume everything is perfect. Instead, conduct a thorough review to confirm the Sage 100 to QuickBooks Online migration went smoothly. Follow these steps:
- Check that all data (e.g., customers, transactions) appears correctly.
- Look for missing or duplicate entries and fix them.
- Reconcile accounts to match Sage 100 balances.
- Test functionality by creating sample transactions.
This review ensures your financial records are accurate and operational in QuickBooks Online. Moreover, it helps you catch any lingering issues before they impact your business.
Cloud Accounting (CA): Your Migration Partner
At Cloud Accounting (CA), we specialize in making your Sage 100 to QuickBooks Online migration effortless. Our expert team guides you through every phase—starting with data preparation for migration, executing the migration, and providing post-migration support. We offer tailored consultations, hands-on assistance with data cleansing and mapping, and training to help your team adapt to QuickBooks Online.
Don’t let migration challenges hold you back. Contact Cloud Accounting (CA) today for a consultation and enjoy a seamless transition to the cloud.